
DIY Container Garden
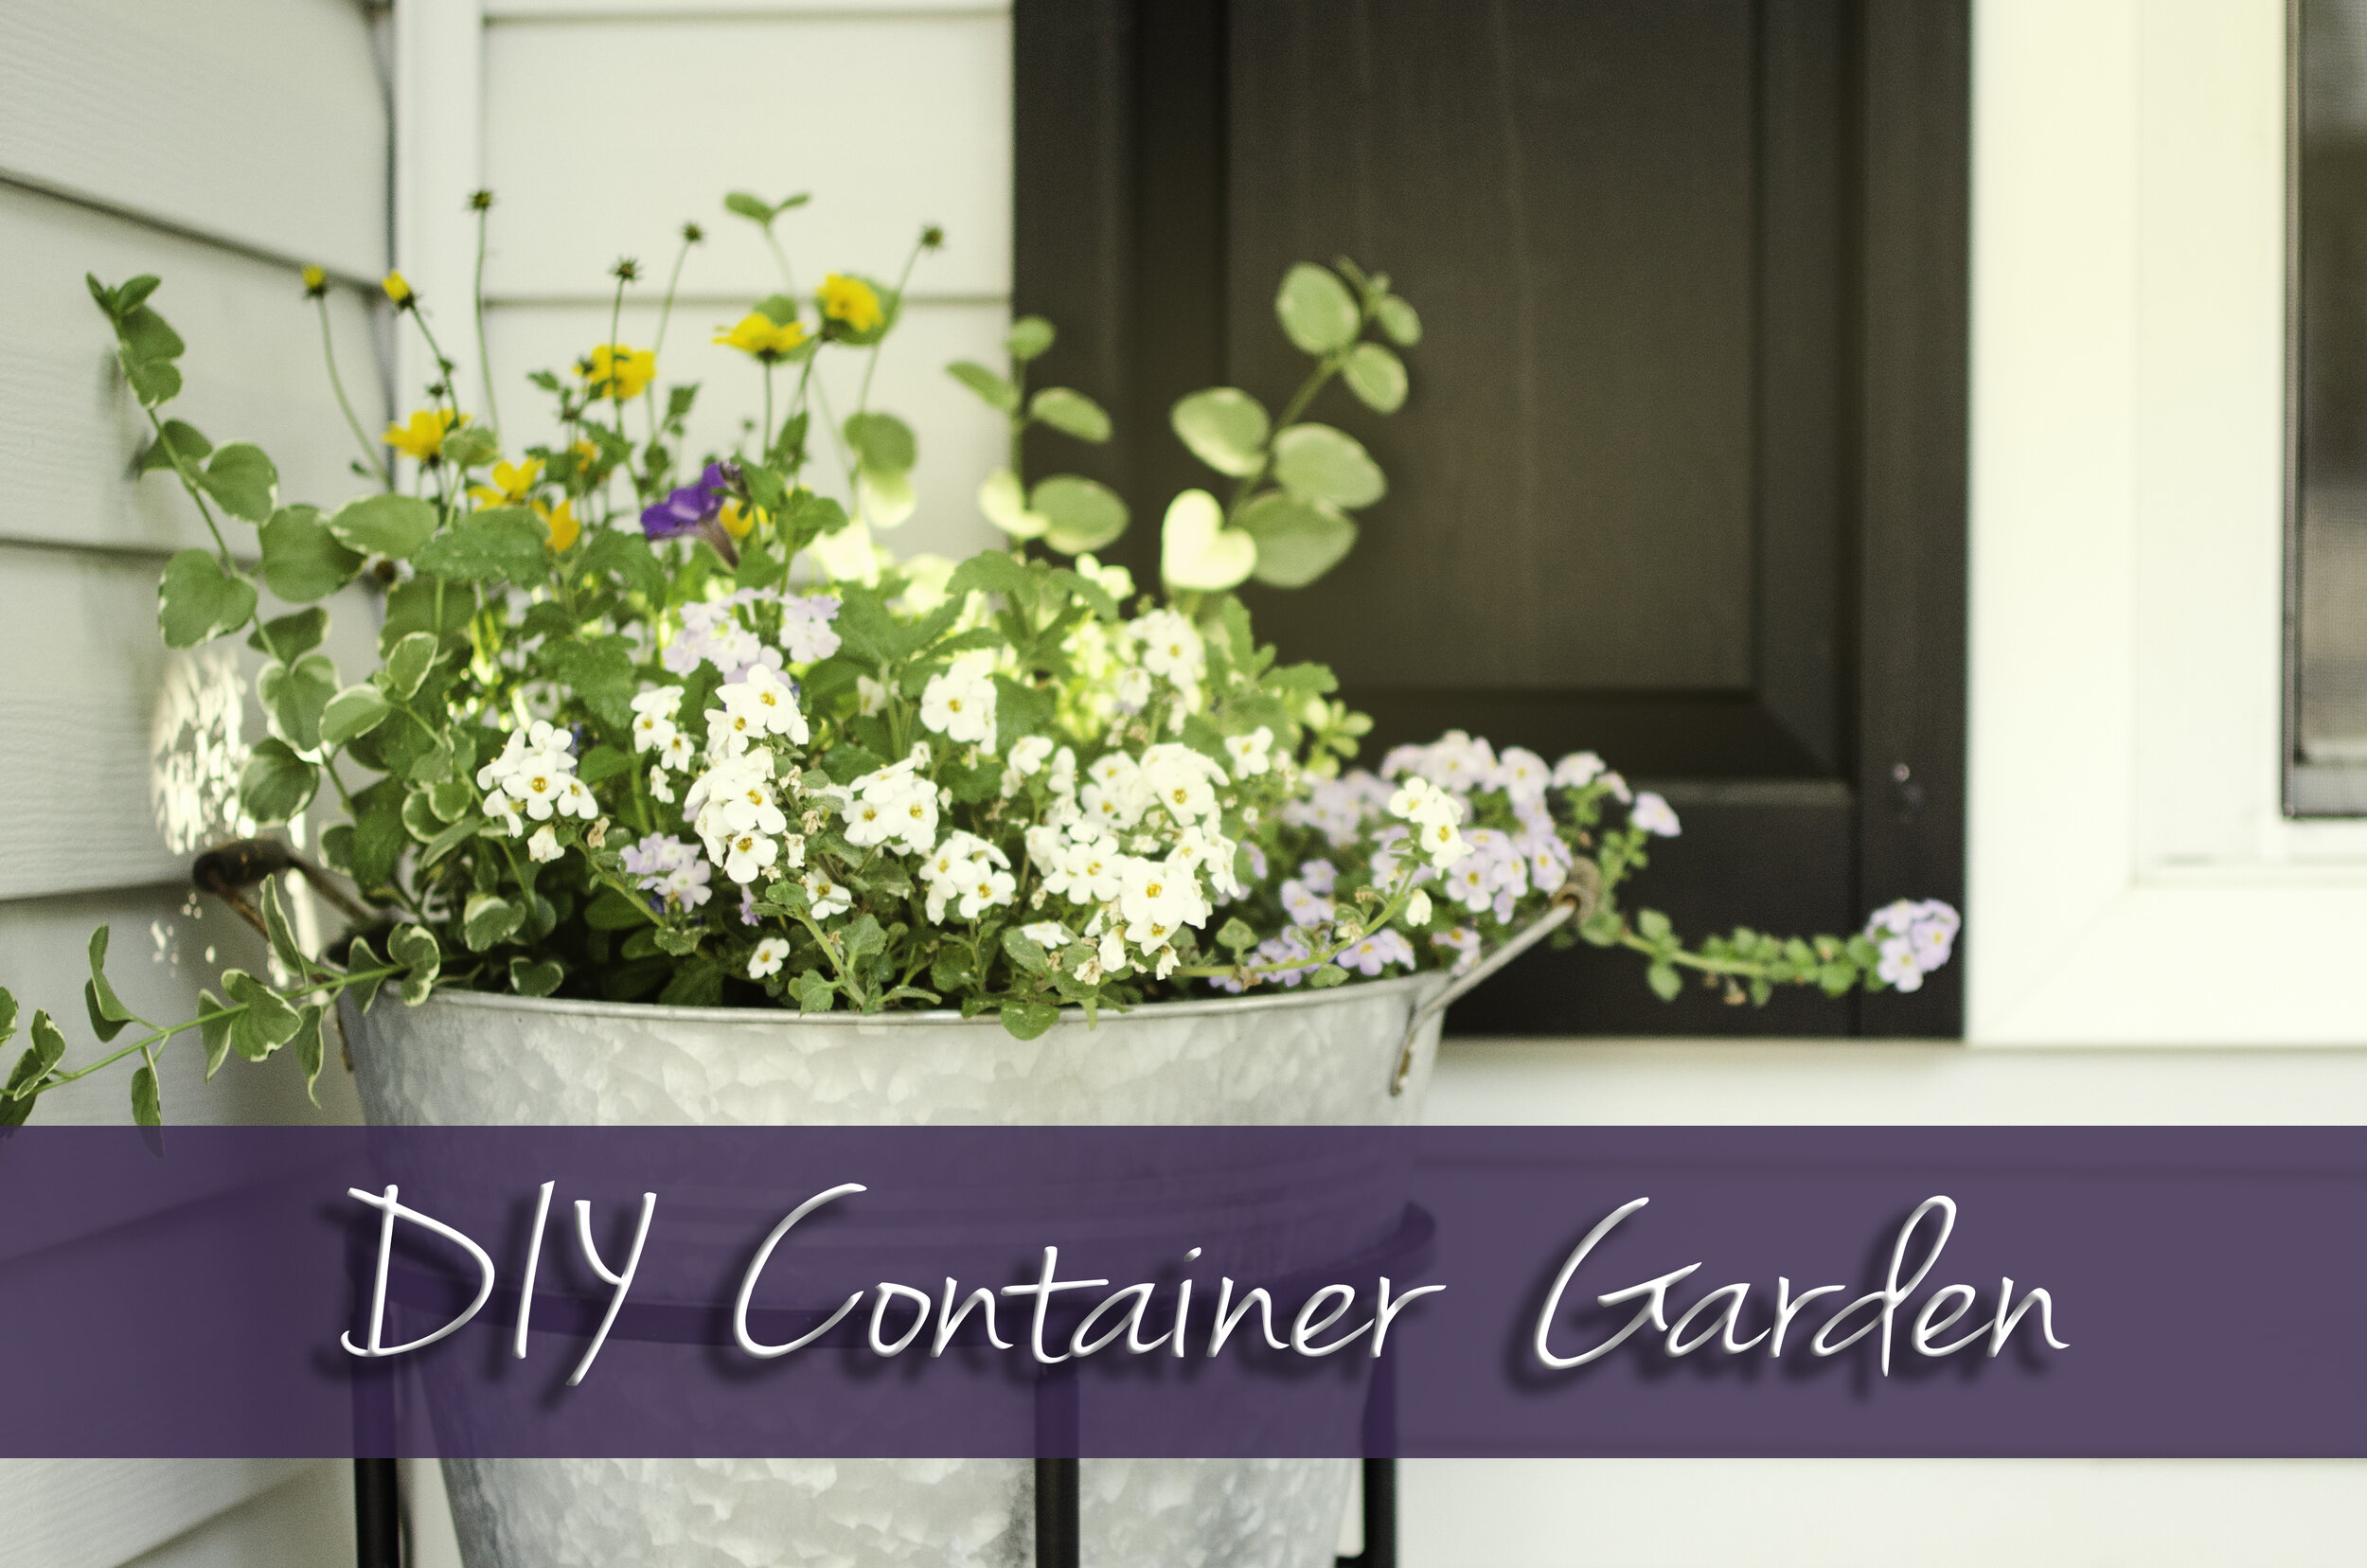
Spring is here, and I just can’t help myself when it comes to buying plants! In this post, I’ll show you how I took a beer bucket and turned it into a beautiful front porch container garden!

When life gives you buckets, make container gardens! That’s the saying, right? The previous owner of our house left this bucket and plant stand (among many other things). We’re pretty sure it was used as a beer bucket, but I saw it as an opportunity for beautification. Our front porch was pretty empty to begin with, since we didn’t have any porch furniture or decorations when we moved. This container garden was the first of several planters that now give life and color to our front porch!

Step 1: Impulsively buy all the plants
No premeditation necessary. Just buy what you think is pretty. One suggestion I have though is to pay attention to which plants like sun and which plants like shade, and buy according to where your container garden will be located.

These are the plants I chose! I love the white, lavender, and yellow flowers together, so I decided to stay in that color palette. I also made sure to vary the heights, so that my container would have “thrillers, fillers, and spillers.” The two plants in the top left of the photo are my spillers, and they are now much longer and flowing down over the edges of the bucket. The flowers in the bottom right are pretty spilly too.

Step 2: Gather the rest of your supplies
Other things you will need for this project are potting soil, gardening gloves, something to scoop the potting soil, and a glass of rosé (this is very important). Coincidentally, the potting soil and gloves were also left here by the previous owner of the house. How convenient!

Step 3: Plan your arrangement
Before removing the plants from their plastic containers, I arranged them in the bucket to get an idea of what the finished product would look like. I put the tallest flowers in the back, since the whole thing would mostly be viewed from only one side, but these could also go in the middle with shorter plants around it.
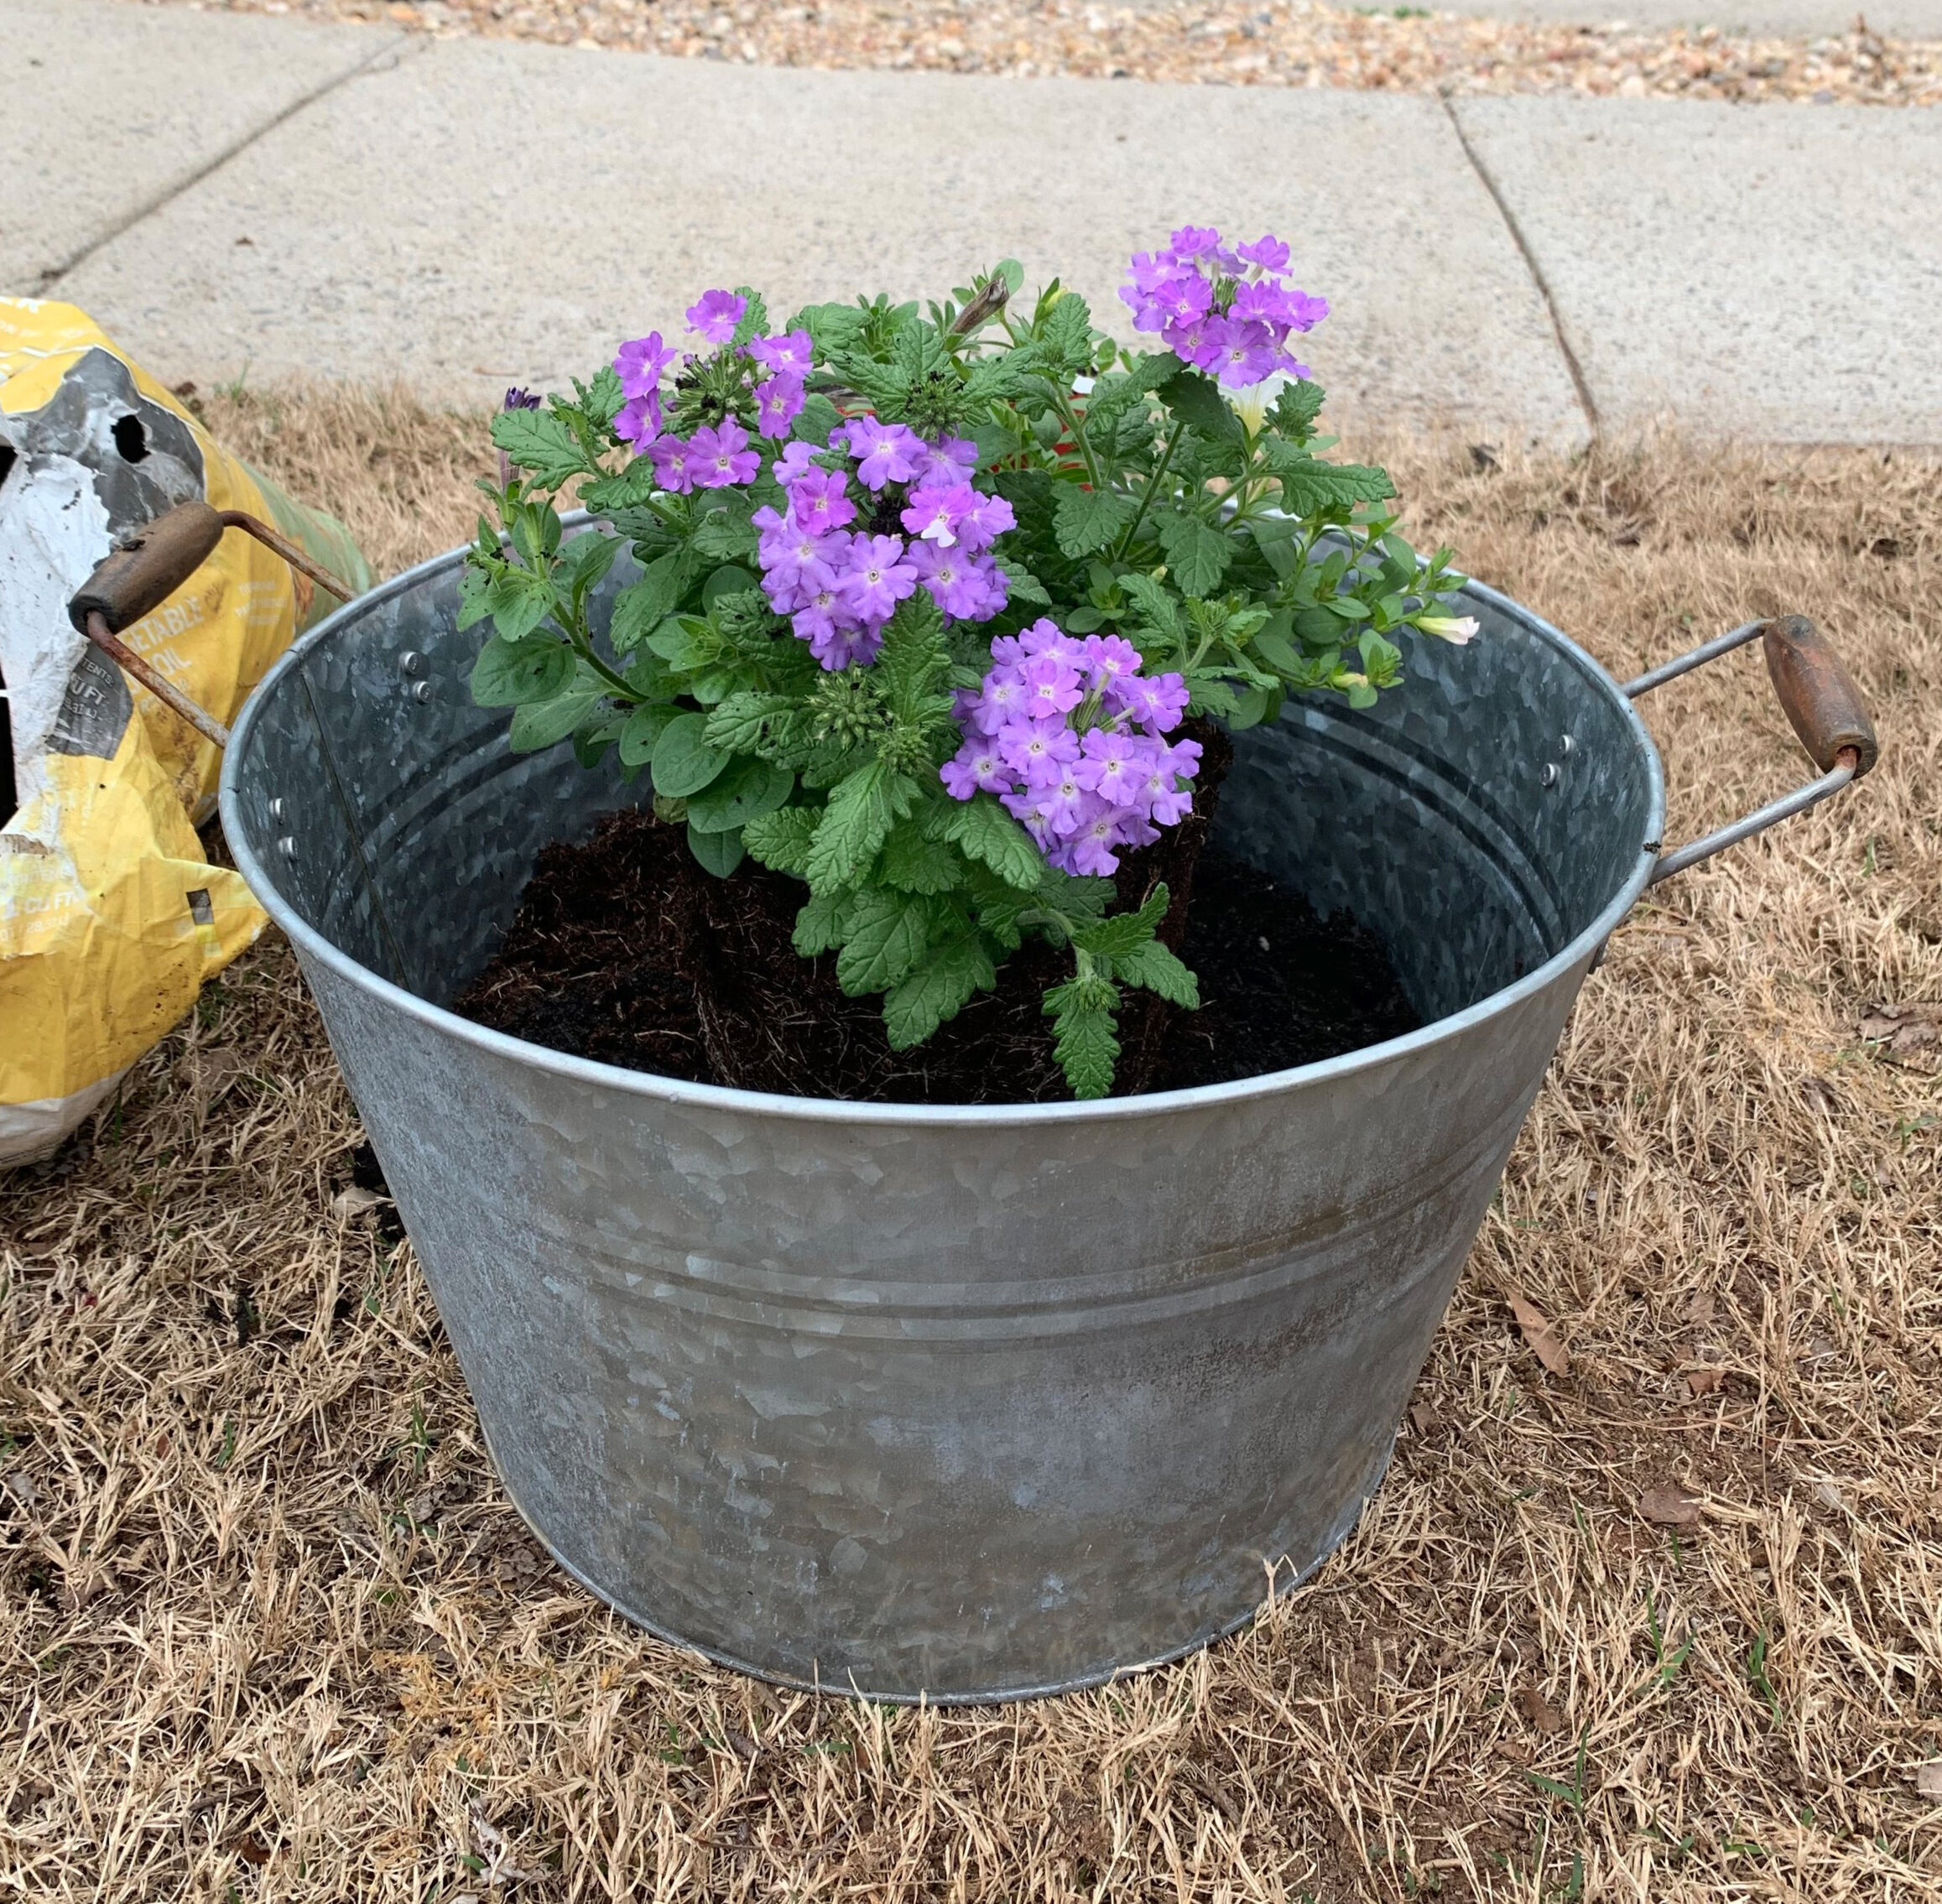
Step 4: Start planting!
First I filled the majority of the bucket with potting soil. I wanted to make sure the plants would be above the top of the bucket before I started planting them. Then I moved the plants from their old containers to their new home one by one, filling in gaps with more potting soil as I went.

Here is the final product! I think it turned out super cute. Let me know what you think in the comments below!
